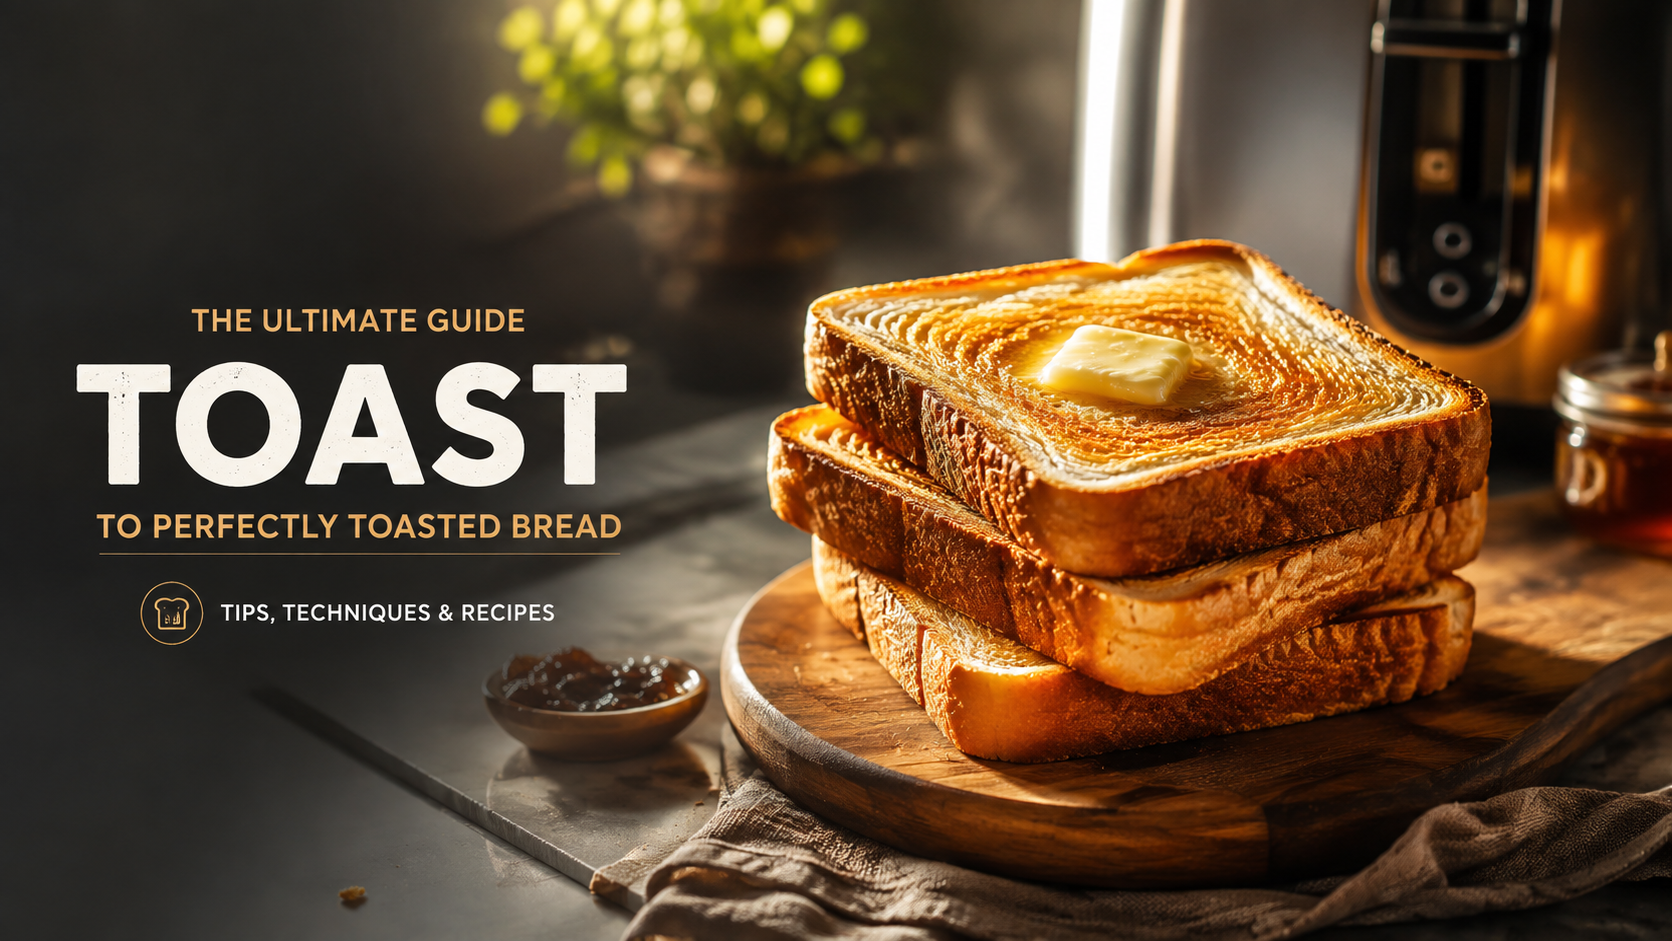
Introduction
Few foods are as universally beloved as toast. It’s the canvas upon which breakfast is painted, the comfort food that transcends cultures, and the quick fix for hunger that never fails. But here’s the thing: not all toast is created equal. That perfectly golden, crispy-on-the-outside, soft-on-the-inside slice of bread is a craft. And in 2026, the art of making toast has evolved more than you might think.
Whether you’re a kitchen novice or a seasoned home cook, this guide will elevate your toast game. We’ll dive into the science of toasting, explore the best equipment, and share techniques that ensure every slice is a masterpiece. Get ready to see bread in a whole new light.
Table of Contents
-
The Science Behind Perfect Toast
-
Toaster Types: Choosing Your Weapon
-
The Bread Factor: Selection Matters
-
Mastering Toasting Techniques
-
The Ultimate Toast Toppings Guide
-
Beyond Breakfast: Creative Toast Recipes
-
Common Toasting Mistakes and How to Avoid Them
-
Toaster Maintenance and Safety
-
Frequently Asked Questions
-
Conclusion
The Science Behind Perfect Toast
Toasting bread is essentially a controlled chemical reaction. When heat is applied to a slice of bread, two major processes occur: the Maillard reaction and caramelization. Understanding these processes is key to achieving your desired level of toast.
The Maillard Reaction
This is the most crucial chemical reaction in toasting. It’s a complex reaction between amino acids (proteins) and reducing sugars that occurs when heat is applied. The Maillard reaction is responsible for the browning of the bread’s surface and the creation of hundreds of flavor compounds. These compounds give toast its characteristic nutty, savory, and slightly sweet notes that plain bread simply doesn’t have.
The Maillard reaction accelerates rapidly at temperatures above 140°C (284°F). This is why a hot toaster produces better toast than a warm one.
Caramelization
While the Maillard reaction involves proteins, caramelization is the oxidation of sugars when they are exposed to high heat. This process begins around 160°C (320°F). Caramelization contributes to the darker brown color and the sweet, complex flavors found in well-toasted bread.
Why Bread Texture Changes
Heat also drives off moisture from the bread’s surface. This drying effect creates the crispy crust we love. The interior of the toast, if properly done, retains some moisture, resulting in a soft, tender center. This textural contrast is a hallmark of perfect toast. The challenge lies in balancing the crust’s crispiness with the crumb’s softness.
Toaster Types: Choosing Your Weapon
The equipment you use significantly impacts the quality of your toast. Let’s break down the most common toaster types.
Pop-Up Toasters
How they work: These are the most common household toasters. They use radiant heat from heating elements to toast bread placed in vertical slots. A spring mechanism pops the toast up when the timer goes off.
Pros:
-
Convenience: Fast and easy to use.
-
Consistency: Good for everyday use with standard sliced bread.
-
Variety: Available in various slot sizes, from two-slice to four-slice models.
Cons:
-
Limitations: Not ideal for thick, artisanal bread or bagels.
-
Heat distribution: Can sometimes be uneven.
| Feature | Pop-Up Toaster |
|---|---|
| Best For | Standard sliced bread, convenience |
| Toasting Time | 1-3 minutes |
| Bread Capacity | 2-4 slices |
| Price Range | $20 – $200 |
Toaster Ovens
How they work: These are small countertop ovens that use heating elements and a fan to circulate hot air, toasting bread like a miniature oven.
Pros:
-
Versatility: Can toast, bake, broil, and reheat food.
-
Capacity: Can accommodate larger items and multiple slices.
-
Better heat distribution: The fan ensures even toasting.
Cons:
-
Slower: Takes longer to toast compared to pop-up toasters.
-
Larger footprint: Takes up more counter space.
| Feature | Toaster Oven |
|---|---|
| Best For | Versatility, large bread, pastries |
| Toasting Time | 5-10 minutes |
| Bread Capacity | Up to 6 slices |
| Price Range | $50 – $400 |
Conveyor Toasters
How they work: Commonly used in restaurants and hotels, these toasters move bread on a conveyor belt through a heated chamber.
Pros:
-
High capacity: Can toast hundreds of slices per hour.
-
Consistency: Produces uniform results.
Cons:
-
Costly: Expensive and impractical for home use.
-
Maintenance: Requires regular cleaning and upkeep.
| Feature | Conveyor Toaster |
|---|---|
| Best For | Commercial settings, high volume |
| Toasting Time | 30-90 seconds |
| Bread Capacity | Continuous |
| Price Range | $1,000+ |
Stovetop Toasters
How they work: These are griddles or cast-iron pans used to toast bread over a flame. You place the bread directly on the hot surface.
Pros:
-
Control: Full control over browning.
-
Unique flavor: Can add smoky or charred notes.
Cons:
-
Requires attention: Must be flipped manually.
-
Uneven results: Can burn if not careful.
| Feature | Stovetop Toaster |
|---|---|
| Best For | Artisan bread, flavor experimentation |
| Toasting Time | 2-5 minutes per side |
| Bread Capacity | Depends on pan size |
| Price Range | $20 – $100 (for a good pan) |
Air Fryers
How they work: Air fryers can toast bread by circulating high-speed, hot air around the food.
Pros:
-
Even toasting: Air fryers do a great job of toasting all sides evenly.
-
Crispy results: Produces a very crispy exterior.
Cons:
-
Not dedicated: Often better at other tasks; can be tricky to get perfect toast.
-
Size restrictions: Can only accommodate a few slices depending on the basket.
Which one is right for you?
-
For everyday convenience: Pop-up toaster.
-
For versatility and better control: Toaster oven.
-
For large gatherings or commercial use: Conveyor toaster.
-
For unique flavor and experience: Stovetop pan.
The Bread Factor: Selection Matters
The foundation of great toast is the bread itself. The type of bread you choose determines the texture, flavor, and toasting characteristics.
The Anatomy of a Bread Slice
Understanding bread’s structure helps you understand how it toasts:
-
Crust: The outer layer, which browns and becomes crispy.
-
Crumb: The soft interior, which should remain tender after toasting.
-
Moisture Content: Higher moisture bread toasts slower and stays softer inside.
-
Sugar Content: Bread with more sugar browns faster and can burn easily.
Best Breads for Toasting
-
Sourdough: Excellent for toasting. Its dense crumb and chewy crust hold up well, creating a fantastic texture contrast. The tangy flavor pairs well with many toppings.
-
Artisan Bread: Rustic loaves with thick crusts and airy crumb toasts beautifully, producing a wonderfully crisp exterior.
-
White Sandwich Bread: The classic choice for everyday toast. It toasts quickly and evenly, offering a familiar comfort.
-
Whole Wheat: A healthier option that provides a hearty, nutty flavor. It may take slightly longer to toast due to its density.
-
Rye: Known for its distinct flavor. It toasts well, though it may require a bit more time to reach desired crispness.
-
Brioche: Rich and buttery, brioche toasts quickly due to its fat content. Watch carefully as it can go from golden to burnt rapidly.
Breads to Avoid (or Toast with Care)
-
Very Fresh Bread: Bread that is too fresh and moist may steam instead of toast, resulting in a gummy texture.
-
Thinly Sliced Bread: Can burn quickly and become overly dry.
-
Gluten-Free Bread: Often crumbles and dries out easily. Toast on a lower setting and watch closely.
Mastering Toasting Techniques
Getting the perfect toast requires more than just pushing down a lever. Here are some techniques to consider:
The Two-Cycle Method
For thick or artisanal bread, a single pass through a toaster may not be enough. Try the two-cycle method:
-
Toast on a low setting.
-
Let the toast rest for 30 seconds.
-
Toast again on the same low setting.
This method dries out the bread gradually, allowing the heat to penetrate to the center without burning the outside.
Resting Your Toast
Once your toast is done, don’t cut into it immediately. Let it rest for 30 seconds to a minute. This allows the steam to escape and the interior to set, preventing it from becoming soggy.
The Cooling Rack
Place your toast on a cooling rack instead of a plate. A cooling rack allows air to circulate beneath, preventing condensation from making the bottom soggy.
Buttering Technique
To achieve the perfect buttered toast, butter it while it’s still hot. The heat melts the butter, allowing it to soak into the crumb. For a more even application, use softened butter rather than cold butter.
The Ultimate Toast Toppings Guide
Toast is a blank canvas. Here’s a breakdown of classic and creative toppings.
| Category | Examples | Best Toast Pairing |
|---|---|---|
| Classic Savory | Butter, Avocado (smashed with seasoning), Cream Cheese (with chives), Marmite/Vegemite | Sourdough, White Bread |
| Classic Sweet | Jelly/Jam (strawberry, raspberry), Honey, Cinnamon Sugar (mix sugar and cinnamon), Nutella | Brioche, White Bread |
| Savory Gourmet | Smoked Salmon (with cream cheese), Poached Egg (with hollandaise), Sautéed Mushrooms (with thyme), Pâté | Sourdough, Rye |
| Sweet Gourmet | Ricotta (with honey and figs), Peanut Butter (with banana slices), Berries (with mascarpone), Lemon Curd | Sourdough, Brioche |
| Global Flavors | Shakshuka (on thick toast), Kimchi (with mayonnaise), Pesto (with sun-dried tomatoes), Avo (with chili flakes) | Artisan Bread |
Beyond Breakfast: Creative Toast Recipes
French Toast: The Toast Remix
This isn’t just breakfast; it’s a culinary event.
-
Prep: Use thick, slightly stale bread like brioche or challah. It absorbs the custard better.
-
Custard: Whisk together eggs, milk, sugar, vanilla extract, and a pinch of salt.
-
Soak: Dunk the bread slices in the custard until fully saturated.
-
Cook: Fry in a buttered skillet over medium heat until golden brown and cooked through.
-
Serve: Top with maple syrup, powdered sugar, and fresh fruit.
Avocado Toast: The Millennial Classic
There’s a reason this remains a staple. It’s delicious, nutritious, and simple.
-
Base: Start with a thick slice of toasted sourdough.
-
Mash: In a bowl, mash a ripe avocado with a fork. Add salt, pepper, and a squeeze of lemon juice.
-
Build: Spread the avocado onto the toast.
-
Elevate: Add toppings. Try everything bagel seasoning, red pepper flakes, a poached egg, smoked salmon, or cherry tomatoes.
Crostini: Appetizer Toast
Elevate your appetizers with mini toasts.
-
Prepare: Slice a baguette into 1/2-inch rounds.
-
Toast: Arrange on a baking sheet, brush with olive oil, and toast in the oven at 400°F (200°C) until golden (about 5-7 minutes).
-
Top: Get creative. Popular toppings include:
-
Bruschetta: Diced tomatoes, garlic, basil, olive oil.
-
Pesto & Chicken: Pesto spread with shredded rotisserie chicken.
-
Fig & Balsamic: Fig jam with a drizzle of balsamic glaze and a dollop of ricotta.
-
Common Toasting Mistakes and How to Avoid Them
Avoid these pitfalls to ensure toast perfection:
| Mistake | The Fix |
|---|---|
| Toasting from the fridge | Let bread come to room temperature for more even toasting. |
| Overcrowding the toaster | Only toast as many slices as the toaster is designed for. |
| Using the wrong setting for the bread | Thicker bread needs lower heat for longer. Thinner bread needs higher heat for less time. |
| Using too much or too little butter | A moderate amount of softened butter ensures even coverage. |
| Not preheating (for toaster ovens) | Always preheat your toaster oven to avoid uneven toasting. |
| Not monitoring while toasting | Different breads toast at different rates. Always keep an eye on it, especially near the end. |
Toaster Maintenance and Safety
Regular maintenance prolongs the life of your toaster and ensures safety.
Cleaning Your Toaster
-
Unplug it first: This is essential for safety.
-
Crumb Tray: Remove the crumb tray. Wash it with warm, soapy water. Dry thoroughly.
-
Inside: Use a pastry brush or a soft, dry cloth to brush out crumbs from inside the toaster.
-
Outside: Wipe the exterior with a damp cloth. Avoid harsh chemicals.
-
Shaking: Turn the toaster upside down over a sink and gently shake to dislodge remaining crumbs.
Safety Tips
-
Never insert metal objects: A fork or knife can cause a severe electric shock.
-
Keep away from water: Do not place a toaster near a sink. Water and electricity are a dangerous combination.
-
Watch for burning: If you see smoke or smell burning, unplug the toaster immediately.
-
Do not leave unattended: Especially when toasting for the first time or with unfamiliar bread.
Frequently Asked Questions
1. What’s the best bread toasting method for browning?
The Maillard reaction works best between 140°C (284°F) and 165°C (329°F). This is why a hot toaster is key. For the best browning, ensure the toaster is preheated (for toaster ovens) or use a pop-up toaster at a higher setting for thick bread.
2. Can I toast bread in an air fryer?
Yes. Air fryers are excellent for toasting bread, giving it a very crispy exterior. Air fry at 350°F (175°C) for 3-5 minutes, flipping halfway.
3. Why does my toast come out soggy?
Condensation from the moisture inside the bread makes the toast soggy. To avoid this, use the two-cycle method and let the toast rest on a cooling rack.
4. How do I store homemade bread for better toasting?
Slice the bread and freeze it. Toast directly from frozen. It prevents the bread from getting stale and toasts beautifully.
5. Is stale bread better for French toast?
Yes. Stale bread has a lower moisture content and absorbs the egg and milk mixture better without falling apart.
6. Can I toast gluten-free bread?
Yes, but be careful. Gluten-free bread is more prone to crumbling and drying out. Toast on a low setting and monitor it carefully.
7. How do I clean a toaster safely?
Always unplug it first. Remove the crumb tray, wash it with soapy water, and dry it. Use a soft brush to clean the inside. Never use water near the heating elements.
8. Why is my toaster not popping up?
If your toaster fails to pop up, the mechanism may be blocked by crumbs or the timer may be faulty. Unplug, clean thoroughly, and try again. If the problem persists, it might need professional repair.
9. What is the ideal toaster temperature?
There’s no fixed number. The correct setting depends on your toaster and the bread. Experiment with a slice to find the right setting for your preferred level of browning.
10. Can I reheat toast after it’s cooled?
Reheating toast can make it extra crispy. Place it in a toaster on a low setting for a few seconds, or heat it in an oven at 300°F (150°C) for 2-3 minutes.
Conclusion
Toast is more than just a quick breakfast; it’s a culinary experience that spans cultures and centuries. From understanding the Maillard reaction to selecting the perfect slice of sourdough, every step in the toasting process contributes to the final result.
In 2026, with the variety of toasters available and an endless array of breads and toppings, the possibilities are truly limitless. Whether you’re a fan of the classic buttered toast or an adventurous culinary experimenter, the key is to enjoy the process. Don’t rush it. Take pride in getting that perfect golden-brown hue and a texture that delights.
So go ahead, experiment. Try different breads, adjust your toaster settings, and discover your own perfect toast formula. And remember: the best toast is the one you make with intention, patience, and a little bit of love.
About the Author